Hot-pour crack fill installation: the sequence
How hot-pour crack filling is installed: routing, cleaning, heating to 350-400 F, pouring, and curing. Equipment, safety, and the mistakes that cause failures.
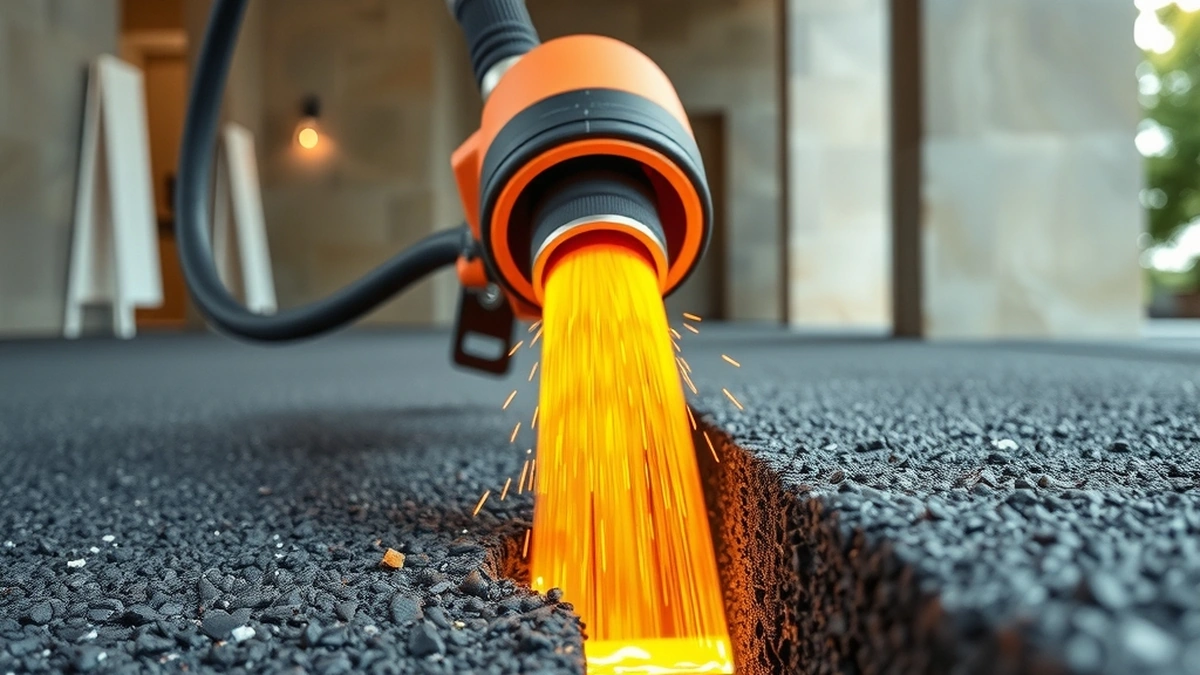
Hot-pour crack fill installation runs five steps: route or clean the crack, dry it, heat the rubber to 350 to 400 F, pour to a slight overfill, and let it cool before traffic. The crack must be dry and free of grit or the filler will debond within a season.
- Application temp
- 350-400 F
- Cure before traffic
- 15-30 minutes
- Crack width to fill
- 1/4 inch and wider
- Installed cost
- $2-$5 per linear ft
- Expected life
- 3-5 years
Some links on this page are affiliate links.If you buy through them we may earn a commission at no extra cost to you. We do not accept payment for rankings. Read the full disclosure.
Hot-pour crack fill installation is five steps: prepare the crack, dry it, heat the rubber, pour it, and let it cool. The pour takes seconds per crack. The preparation is what determines whether the filler stays bonded for five years or lifts out after one winter.
What hot-pour crack fill is
Hot-pour crack fill is a rubberized asphalt sealant heated in a melter and poured into asphalt cracks, where it cools into a flexible plug.
The material stays slightly elastic across temperature swings, which is why it outlasts cold-pour products on a working driveway. It is not a structural repair, and it does not stop a crack that is being pulled apart by a moving base.
Equipment and materials
| Item | Purpose | Notes |
|---|---|---|
| Melter | Heats and holds the rubber | Thermostatic control, 350-400 F |
| Pour wand | Directed application | Keep the tip clear of debris |
| Router or crack cleaner | Opens and cleans the crack | Recommended above 1/4 inch |
| Compressed air or blower | Dries and clears grit | Moisture causes blowouts |
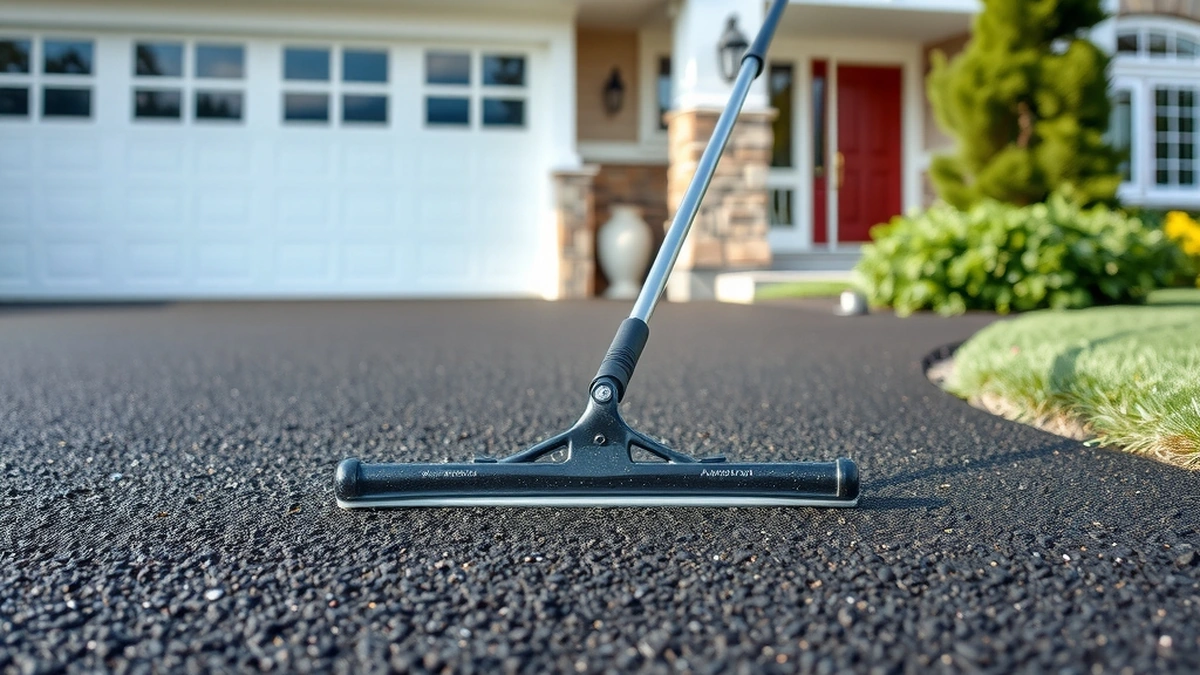
| Squeegee or blotter | Levels and textures the surface | Sand or release agent reduces tracking |
| Heat-rated gloves and face shield | Safety | Material burns at application temperature |
A homeowner doing one driveway can rent a small melter. For a single crack, a cold-pour product is more sensible; the setup does not pay for itself below roughly 50 linear feet.
Steps 1 and 2: prepare and dry the crack
Cracks wider than about a quarter inch should be routed, which widens them into a uniform channel with clean vertical edges. The filler then keys into the sides instead of sitting on the surface like a bead.
Narrow hairline cracks can be cleaned and filled without routing, though the result is shorter-lived.
Remove all loose material, vegetation, and old failed filler. A crack that already contains crumbly sealer has to be cleaned back to sound asphalt before anything new goes in.
Dry it completely.
Water is the enemy of hot-pour. Any moisture in the crack flashes to steam when the 350 F rubber hits it, and the steam pushes the filler back out.
Blow the crack clear with compressed air and confirm it is dry. If the pavement is wet from rain or dew, wait. A morning after rain is not the time to fill cracks, even if the surface looks dry.
Step 3: heat the rubber
Bring the melter up to temperature and hold it between 350 and 400 F. Use a thermometer rather than trusting the dial.
Below 350 F the material is too viscous to flow into the crack and bridges over the top instead. Above 400 F the rubber degrades, smokes, and in the worst case ignites. Stir or recirculate per the manufacturer’s instructions to keep the whole batch at temperature.
Step 4: pour, finish, and cure
- Start at the deepest point of the crack and work uphill so the material flows into the void.
- Fill to a slight overfill, roughly 1/8 inch above the surface.
- Move steadily; stopping mid-crack creates cold joints.
- Work in sections short enough to finish before the material skins.
- Do not touch the filler to check it; the surface is molten.
The overfill is deliberate. The material shrinks slightly as it cools and compresses under traffic, and a flush fill ends up below the surface within weeks.
Finish and cure.
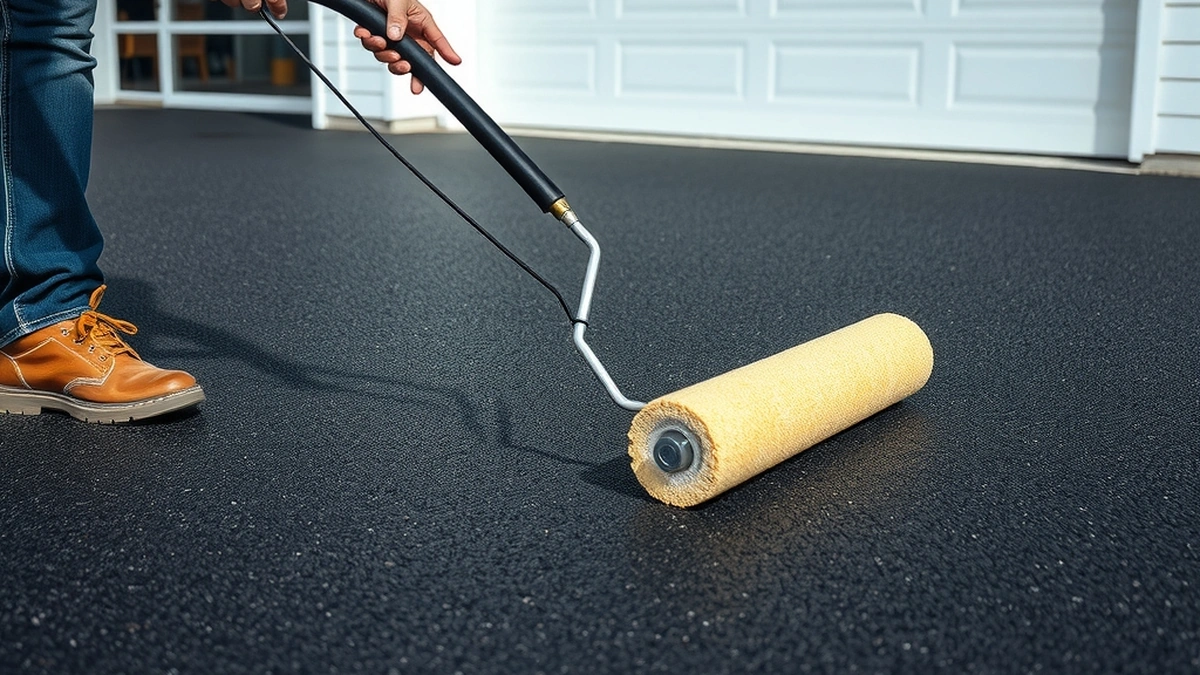
Squeegee or blot the overfill while it is still warm so the plug sits slightly above the pavement without a raised ridge.
Where the filler remains tacky, dust it with sand or a release agent to prevent tracking. Traffic can usually return in 15 to 30 minutes, but confirm by touch on a test patch.
Then, once all cracks are filled, sealcoat the driveway at $0.15 to $0.30 per square foot. The coat protects the filler edges and gives a uniform finish. Our hot-pour crack fill cost page prices the two together.
Mistakes that cause failures
Four errors account for most short-lived hot-pour jobs.
Filling a wet crack. Steam blows the plug out, sometimes within minutes. This is the most common cause of a filler that is missing the morning after installation.
Skipping the cleaning. Rubber bonded to dust is rubber bonded to nothing. It lifts at the first freeze-thaw cycle.
Pouring too cool. Thick material bridges the crack and leaves a void beneath. The surface looks filled; the crack is still open under it.
Overfilling without blotting. A raised ridge gets picked up by tires and dragged out of the crack in strips.
When not to fill
Hot-pour is the wrong spend when the crack is a symptom rather than the problem.
Alligator cracking across a quarter or more of the surface means the pavement has lost flexibility or the base is moving. Filling individual cracks in that pattern is wasted material; the area needs patching, an overlay at $3 to $7 per square foot, or replacement at $8 to $15.
Cracks that reopen in the same line within a season point to base movement. Refilling them annually costs more than addressing the cause.
Settled sections with a lip at the crack edge are a base failure. No surface filler holds two plates that are moving independently.
Our hot-pour crack fill problems guide covers how to diagnose a failed fill, and alligator cracking repair covers the pattern that most often gets misread as ordinary cracking.
Cost and expected life
Installed cost is $2 to $5 per linear foot, with routing, crack width, and access pushing toward the top of the band.
A well-installed hot-pour plug commonly lasts three to five years on a residential driveway. Cold-pour filler lasts one to three seasons. The difference is the equipment and the preparation, which is exactly what the higher price buys.
For a driveway with more than 100 linear feet of cracks, hiring is usually cheaper than renting a melter, buying material, and learning the temperature control on your own pavement. Below that, a cold-pour product is a reasonable DIY choice. The hot-pour crack fill maintenance guide covers what to check each year.
Frequently asked questions
How is hot-pour crack filler installed?
The crack is routed or blown clean and dried, the rubber is heated to 350 to 400 F in a melter, poured to a slight overfill, and left to cool for 15 to 30 minutes before traffic.
What temperature should hot-pour crack filler be applied at?
Between 350 and 400 F. Too cool and it will not flow into the crack; too hot and the rubber degrades and can smoke or ignite. Use a melter with a thermostat and a thermometer.
Do cracks need to be routed before filling?
Routing is recommended for cracks wider than about a quarter inch. It creates a uniform reservoir so the filler keys into the sides rather than sitting on the surface.
Can I fill cracks when the ground is wet?
No. Water turns to steam under hot rubber and blows the filler out of the crack. The pavement and the crack must be dry, which usually means waiting a day after rain.
How long before I can drive on hot-pour crack fill?
Typically 15 to 30 minutes. The material skins quickly and cools fast in thin sections. Blotting with sand or release agent prevents tracking where the filler is still tacky.
Does hot-pour crack fill need sealcoat on top?
Not strictly, but sealcoating afterward at $0.15 to $0.30 per square foot protects the filler edges and gives a uniform finish. Most crews bundle the two.
Sources
Some links are affiliate links.If you buy through them we may earn a commission at no extra cost to you. We do not accept payment for rankings. Read the full disclosure.