How to Install Acrylic Sealer on Your Driveway
A step-by-step guide to installing acrylic sealer on asphalt driveways, covering prep, application, and cost estimates.
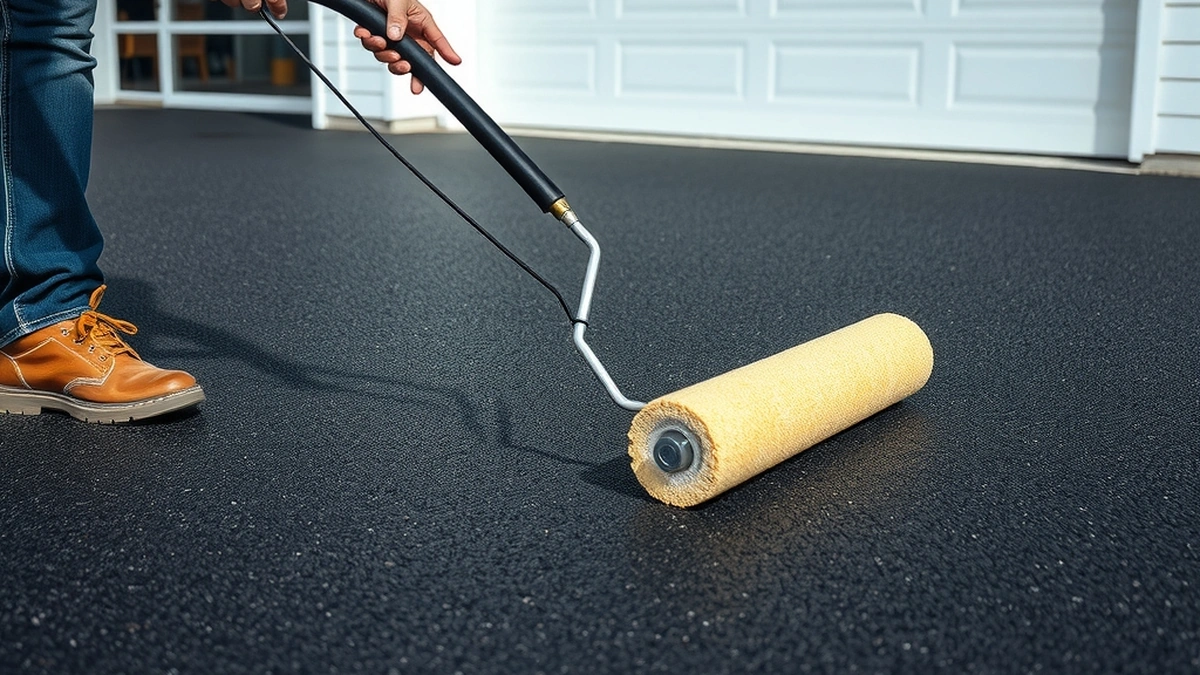
Installing acrylic sealer involves cleaning the driveway, repairing cracks, then applying a two-coat system with a roller or squeegee to prevent water intrusion and UV damage.
- Typical range
- Varies by system and site
- First step
- Measure the space and confirm the load
- Professional help
- Recommended for structural or electrical work
Some links on this page are affiliate links.If you buy through them we may earn a commission at no extra cost to you. We do not accept payment for rankings. Read the full disclosure.
Acrylic sealer is a water-based polymer coating that slows oxidation and sheds water at the pavement surface, and installing it well is mostly preparation: clean the asphalt, fill the cracks, then apply two thin coats and let them cure. On a sound driveway a careful homeowner can coat 400 square feet in a weekend for roughly $20 to $48 in material. On a driveway with a failing base, sealer is the wrong purchase, because no coating restores a subbase that no longer drains or carries a load.
What acrylic sealer does and does not do
Acrylic sealer is a polymer emulsion that cures into a thin, flexible film over asphalt, slowing oxidation from sun and air and limiting the water that reaches the binder at the surface. The film is breathable, so moisture that does get into the pavement can still escape rather than being trapped under a hard shell.
What the film buys you is time. It slows the graying and raveling that come from ultraviolet exposure, and it keeps minor surface water from soaking into the binder. What it does not do is structural. Sealer will not lift a depression, restore a broken edge, bridge a crack that moves, or firm up a base that has settled. If you can see alligator cracking, a dish that holds water after rain, or crumbled edges, the money belongs in repair, not in a pail of sealer.
The numbers before you buy a pail
Every cost in this guide comes from the same set of US ranges:
- Professional sealcoating: $0.15 to $0.30 per square foot
- DIY material only: $0.05 to $0.12 per square foot
- Crack filling: $2 to $5 per linear foot
- Pothole patching: $100 to $400 per hole
- Asphalt overlay: $3 to $7 per square foot
- Full replacement: $8 to $15 per square foot
Those ranges are estimates, not quotes. Access, drainage, and local labor move them, and a driveway that needs heavy prep will land at the top of the sealcoating band no matter who does the work.
Tools, material, and how much sealer to buy
You need a stiff broom, a leaf blower, a scraper, a wire brush, crack filler, a squeegee, a roller with a coarse nap, an extension pole, and gloves and eye protection. For a two-car apron of about 400 square feet, work the quantity out from the label rather than guessing:
- Read the coverage figure on the pail. A common label figure is 150 square feet per gallon per coat; use whatever yours states.
- Divide the area by that figure: 400 ÷ 150 = 2.7 gallons for the first coat.
- Multiply by two coats: 2.7 × 2 = 5.4 gallons.
- Buy 6 gallons, because the first coat soaks into dry, porous asphalt faster than the second.
At the DIY material range of $0.05 to $0.12 per square foot, 400 square feet costs $20 to $48 in sealer. Crack filler is a separate line item.
Preparing the surface
Preparation decides whether the film bonds or peels, and it takes longer than the coating itself.
- Clear the driveway of vehicles, toys, and debris, then sweep and blow off grit.
- Scrub oil and grease spots with a degreaser and rinse them thoroughly. Sealer will not bond to oil.
- Pull weeds from cracks and fill every crack wider than a quarter inch. At $2 to $5 per linear foot, 40 linear feet of cracks costs $80 to $200.
- Patch potholes and any alligatored patch with cold patch or hot mix, then compact it. A single pothole runs $100 to $400 to have repaired.
- Wash the surface and let it dry completely, usually 24 to 48 hours in mild weather. Damp asphalt traps moisture under the film and causes early failure.
If step 3 or 4 turns up evidence of base movement, stop and read the section below before you open a pail.
Applying the two coats
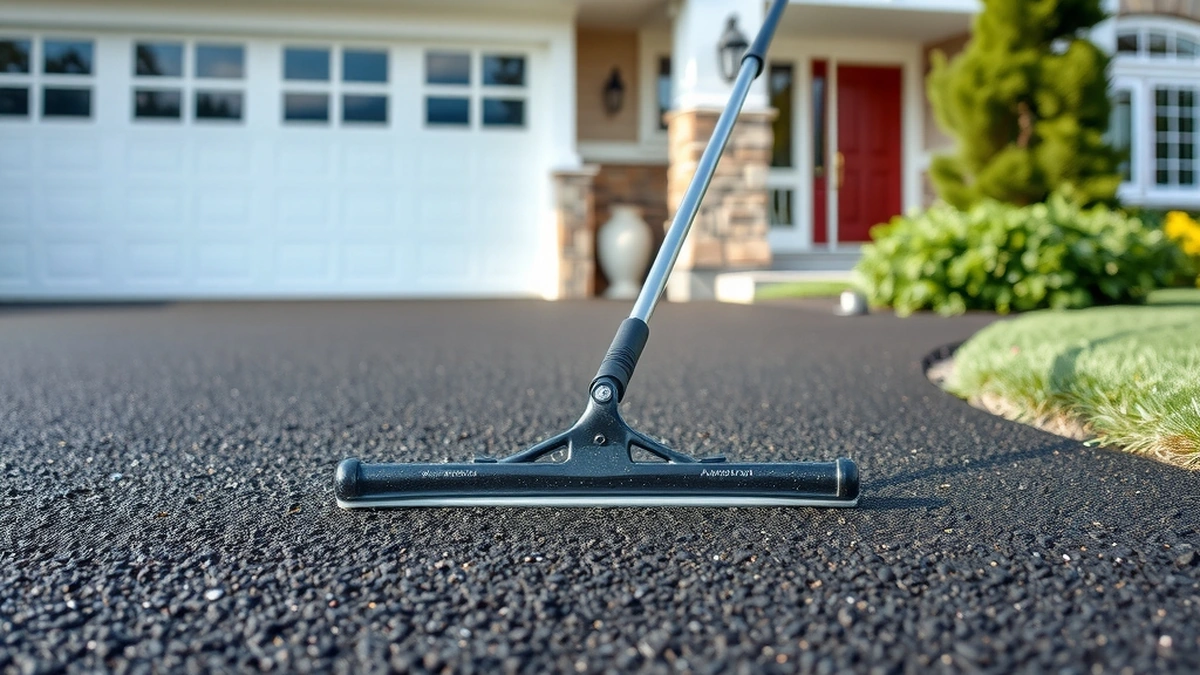
Pour a ribbon of sealer across the top of the slope and pull it down with a squeegee, then back-roll the same area with the roller to even out the texture. Work in strips about 6 feet wide so you can keep a wet edge, and keep the coat thin; two thin coats outperform one heavy coat that skins over and stays soft underneath.
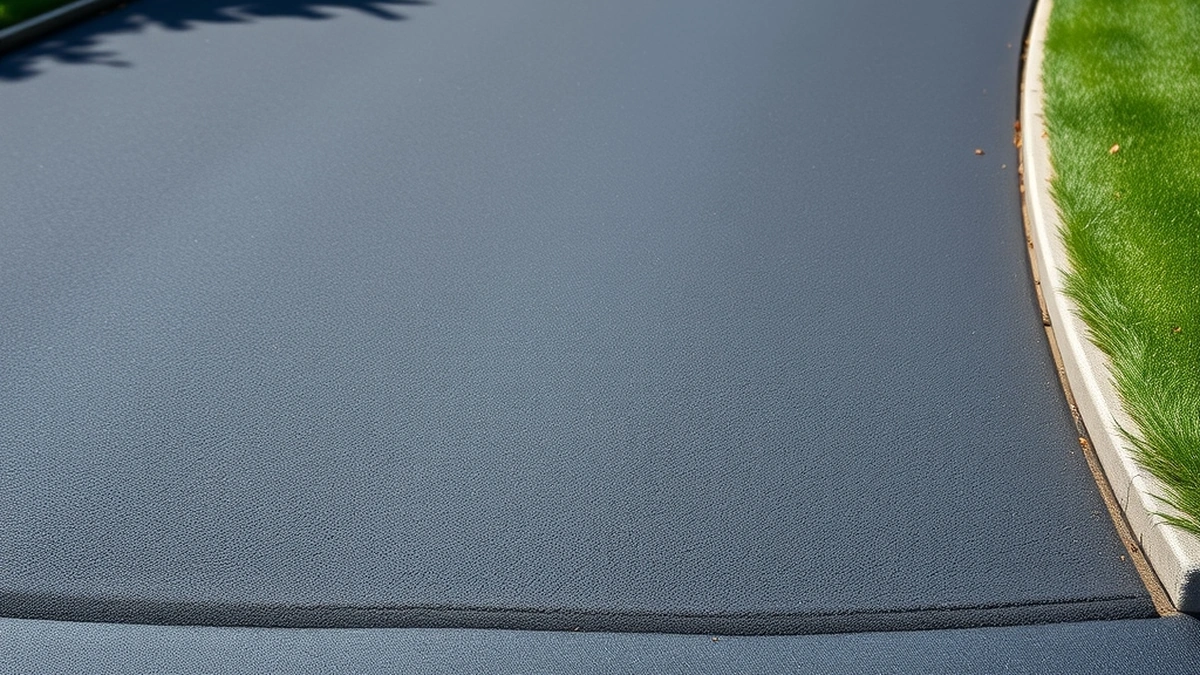
Let the first coat dry according to the label, typically two to four hours in dry, warm weather, before starting the second. Apply the second coat at right angles to the first so you cover the lap marks. Stay off the surface for the cure time on the pail, often 24 hours for foot traffic and 48 to 72 hours for vehicles, and avoid coating when rain is forecast within 24 hours or when temperatures will drop below about 50°F overnight.
What the job costs, worked out
| Line item | DIY | Professional |
|---|---|---|
| Sealer, 400 sq ft at $0.05–$0.12 / $0.15–$0.30 per sq ft | $20–$48 | $60–$120 |
| Crack filler, 40 linear ft at $2–$5 per ft | $80–$200 | $80–$200 |
| Application labor | Your weekend | Included above |
| Estimated total | $100–$248 | $140–$320 |
The professional figure assumes the same small crack count. Add $100 to $400 for a pothole and the gap between the two columns narrows, which is why small driveways with real prep work often go to a contractor.
When sealer is the wrong fix
Sealer is a maintenance coat, and maintenance only works on a surface that is still behaving like a surface. Three signs say the problem is underneath: a low spot that holds a puddle after every rain, cracks that run in a connected web across a patch of pavement, and edges that crumble when you press them. All three point to water in the base or a base that was never thick enough.
In those cases the sequence is repair first. An asphalt overlay at $3 to $7 per square foot replaces the wearing course; for 400 square feet that is $1,200 to $2,800. Full replacement at $8 to $15 per square foot runs $3,200 to $6,000 for the same area. Sealing over a failing base traps moisture and hides the problem for a season, which is the most expensive outcome available.
Curing, traffic, and the next coat
Expect to reseal every two to three years under normal residential traffic, sooner on a driveway that takes delivery trucks or sits under heavy leaf fall. Between coats, keep the surface swept, wipe up oil promptly, and refill any crack that reopens before winter. The full timeline is covered in how long driveway sealing lasts, and the repair side is covered in driveway sealing repair.
If you would rather not do the work, how much driveway sealing costs breaks down the contractor side, and DIY driveway sealing covers the equipment in more detail. For cracks that have already opened, start with driveway crack repair so the sealer has something sound to sit on.
Frequently asked questions
What is acrylic sealer made of?
It is a polymer-based liquid applied over asphalt to create a protective film against weathering and oil penetration.
How much does DIY acrylic sealer cost?
Expect to spend between $0.05 and $0.12 per square foot for materials only.
Can I apply acrylic sealer over existing sealcoating?
Generally, no. You should strip old sealcoating first because it prevents proper adhesion of the new coat.
How long does acrylic sealer last before reapplication?
Typically two to three years under normal traffic before needing another application.
Is acrylic sealer safe for pets and children?
Yes, it is generally considered safer than coal tar sealants, though you should still wash paws after application.
Do I need to power wash before applying acrylic sealer?
Yes, pressure washing at 2500-3000 PSI clears loose debris and ensures good adhesion.
Sources
Some links are affiliate links.If you buy through them we may earn a commission at no extra cost to you. We do not accept payment for rankings. Read the full disclosure.