Asphalt emulsion sealer installation: step by step
How to install asphalt emulsion sealer: cleaning, crack filling, priming, spreading at the label rate, and curing. Tools, temperatures, and coat counts.
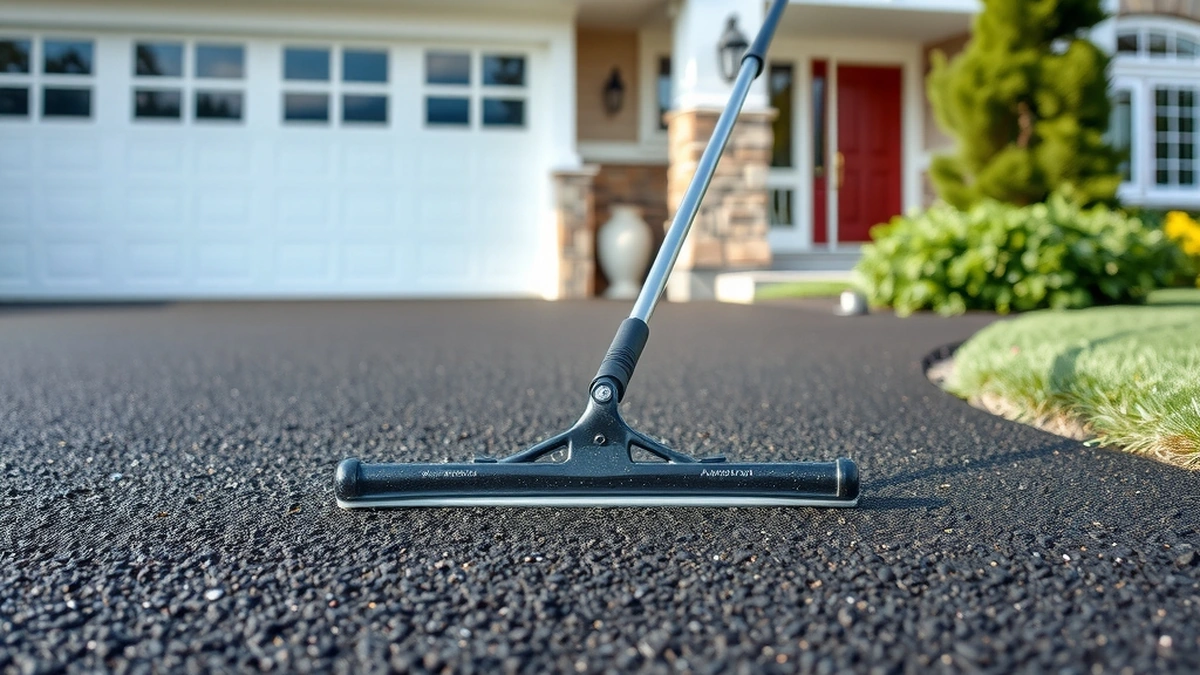
Installing asphalt emulsion sealer takes five steps: clean the surface, fill cracks and patch holes, prime oil spots, spread the sealer at the label rate with a squeegee or sprayer, and cure it 24 to 48 hours before traffic. Surface temperature must stay above 50 F.
- Working temperature
- Above 50 F
- Cure before traffic
- 24-48 hours
- Spread rate
- Label rate per pail
- Coats
- 1-2
- Material cost
- $0.05-$0.12 per sq ft
Some links on this page are affiliate links.If you buy through them we may earn a commission at no extra cost to you. We do not accept payment for rankings. Read the full disclosure.
Asphalt emulsion sealer installation is five steps: clean, repair, prime, spread, and cure. The spreading is the quick part. Cleaning and repair decide whether the coat lasts two years or four, and the cure window decides whether it lasts at all. Get those three right and the product choice matters far less than the marketing suggests.
Before you open a pail
Asphalt emulsion sealer is a water-based coating of asphalt particles, filler, and additives that cures into a protective film over asphalt pavement.
It needs a clean, dry, sound surface and warm weather. Three conditions stop a job before it starts: rain forecast inside 48 hours, surface temperature below 50 F, and standing water anywhere on the pavement.
Check the pavement itself too. If more than a quarter of the surface shows alligator cracking, or water ponds for a day after rain, the base has failed and sealer is the wrong purchase. Our alligator cracking repair guide covers that diagnosis.
Tools and materials
| Item | Purpose | Notes |
|---|---|---|
| Sealer pails | The coating | 250-400 sq ft per 5-gallon pail |
| Squeegee or sprayer | Application | Squeegee for control, sprayer for speed |
| Brush | Edges and corners | Cut in before the main pass |
| Blower or broom | Cleaning | Must remove all loose material |
| Crack filler | Pre-repair | Hot-pour or cold-pour |
| Oil spot primer | Adhesion | Required on oil-stained areas |
| Gloves and eye protection | Safety | Sealer is alkaline and stains skin |
A pressure washer is optional but useful on a dirty surface. If you use one, plan a full drying day before sealing.
Steps 1 to 3: clean, repair, and prime
Remove vehicles, sweep or blow the entire surface, then deal with oil, moss, and embedded dirt.
Oil stains need a degreaser and a scrub, not just a rinse. Moss and algae need scraping or a treatment, because sealer will not bond to organic growth.
The test is simple: run a hand over a dry section. If it comes away gritty or dusty, keep cleaning. Sealer bonds to the pavement, not to the dust on it.
Repair before coating.
Fill every crack wider than a quarter inch at $2 to $5 per linear foot if a contractor does it. Patch potholes at $100 to $400 each. Both must be done before sealer, because a coat over an open crack reopens along the same line.
Let filler and patch material cure according to their own instructions. Hot-pour rubber can usually be coated the same day; cold patch often needs longer.
Prime the oil spots.
Oil-soaked asphalt repels water-based sealer. Those areas get cleaned, dried, and primed with a product designed for the purpose.
Skipping this step is the second most common cause of peeling after poor cleaning. If a patch of new sealer lifts in a clean-edged shape a few weeks after application, an unprimed oil spot is usually underneath.
Step 4: spread at the label rate
- Start at the far end of the driveway so you can walk out without crossing fresh sealer.
- Cut in the edges with a brush before the main pass.
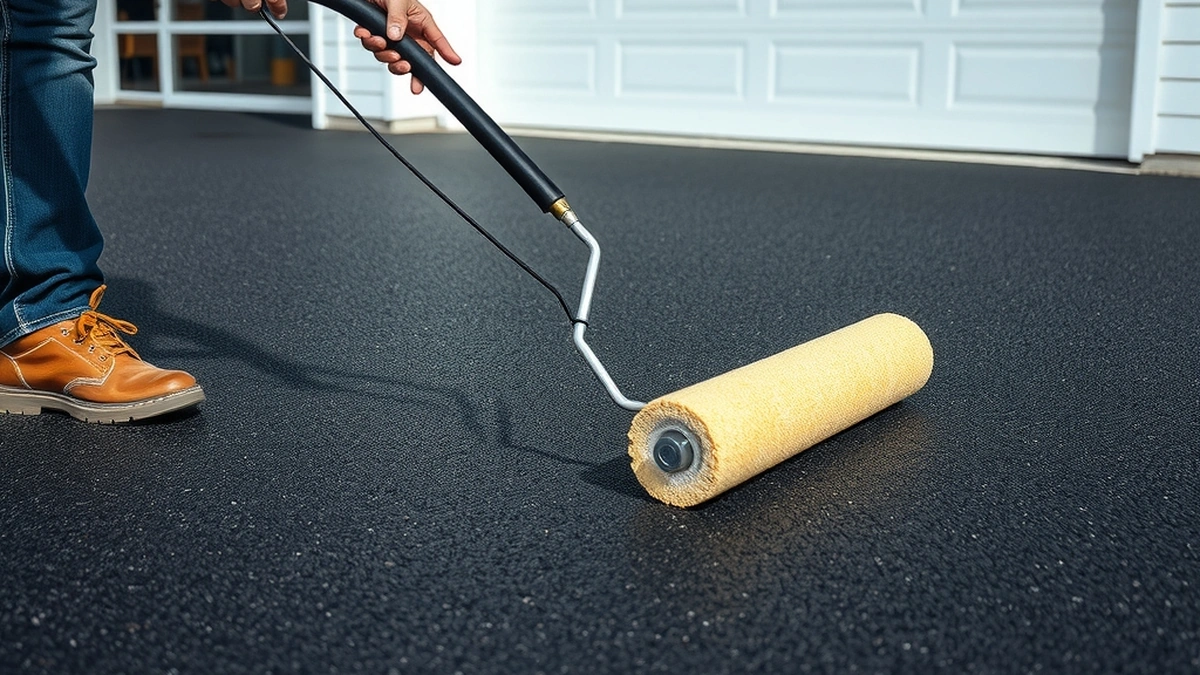
- Pour a ribbon of sealer and pull it with the squeegee, or spray in overlapping passes.
- Work in sections the width of the squeegee, keeping a wet edge.
- Check coverage against the pail’s stated square footage as you go.
The label rate is not a suggestion. Applying thicker does not add protection; it skins over, tracks in heat, and can crack from its own film thickness. Applying thinner wears through in the tire tracks within a season.
Step 5: cure
Keep foot traffic off for at least 4 to 8 hours and vehicles off for 24 to 48 hours. Cool or humid weather extends both windows.
Avoid sharp steering turns on the fresh surface for the first week. Power-steering scrub is what produces those black crescent marks at the apron.
If rain arrives inside the cure window, inspect afterward for blushing and streaking. A milky appearance or a washed patch means the coat has to be reapplied, not spot-fixed.
One coat or two
One coat is enough on sound, previously sealed asphalt with an even colour. Two coats are the right call on porous, sun-bleached, or heavily weathered surfaces.
The second coat goes on after the first has cured enough to walk on, typically 4 to 24 hours depending on weather. It should be applied at the same rate, not as a thin touch-up.
A two-coat job costs 40 to 60 percent more from a contractor and roughly double in materials. On a 700 square foot driveway that is about $120 in product against $60 for one coat.
Common installation mistakes
The four failures worth avoiding are all procedural.
Sealing a dirty surface. The coat bonds to dust and peels in sheets. This is the most frequent cause of a bad result and the cheapest to prevent.
Sealing too cool. Below 50 F the emulsion cures too slowly, and trapped moisture produces a white blush.
Sealing too thick. Extra material does not mean extra protection. It means a film that softens in summer heat and cracks under its own rigidity.
Sealing a failing surface. Alligator cracking, ponding, and soft spots are base problems. A coat over them is cosmetic and short-lived.
Cost and schedule
Materials run $0.05 to $0.12 per square foot, and installed work runs $0.15 to $0.30. On a 700 square foot driveway that is $35 to $84 DIY or $105 to $210 hired.
Plan the job around weather rather than around a free Saturday. A 48-hour dry window above 50 F is the constraint, and in shoulder seasons that can mean waiting a week. The full pricing picture is in asphalt emulsion sealer cost, and the failures to watch for afterward are covered in asphalt emulsion sealer problems. For the overall schedule, see how often to seal a driveway.
Frequently asked questions
How do you install asphalt emulsion sealer?
Clean the driveway, fill cracks and patch potholes, prime oil spots, spread the sealer at the manufacturer's rate with a squeegee or sprayer, then cure it 24 to 48 hours before allowing traffic.
What temperature is needed to apply asphalt sealer?
Above 50 F for both air and surface, with no rain forecast for 24 to 48 hours. Ideal conditions are around 70 F with low humidity, and early morning application avoids skinning.
How thick should asphalt sealer be applied?
Follow the label's spread rate, which is usually stated as square feet per pail. Thicker is not better: an over-applied coat skins over, tracks in heat, and can crack from its own thickness.
Do I need to pressure wash before sealing?
The surface must be clean and dry. A pressure washer helps remove embedded dirt and moss, but the driveway must then dry fully. Blowing off loose material is the minimum.
Can I apply sealer with a sprayer?
Yes. A sprayer is faster on large areas and needs calm weather plus masking of garage doors, siding, and landscaping. A squeegee gives more control on small driveways and edges.
How long before it rains can I seal a driveway?
Wait for a 48-hour dry window. Rain inside the cure period can blush, streak, or wash the coat, and the repair is a full reapplication rather than a spot fix.
Sources
Some links are affiliate links.If you buy through them we may earn a commission at no extra cost to you. We do not accept payment for rankings. Read the full disclosure.