DIY driveway sealing: what you can and cannot do
A homeowner can clean, fill cracks, and roll on sealcoat for $0.05–$0.12 per sq ft. Here is exactly where the DIY result matches a crew and where it does not.
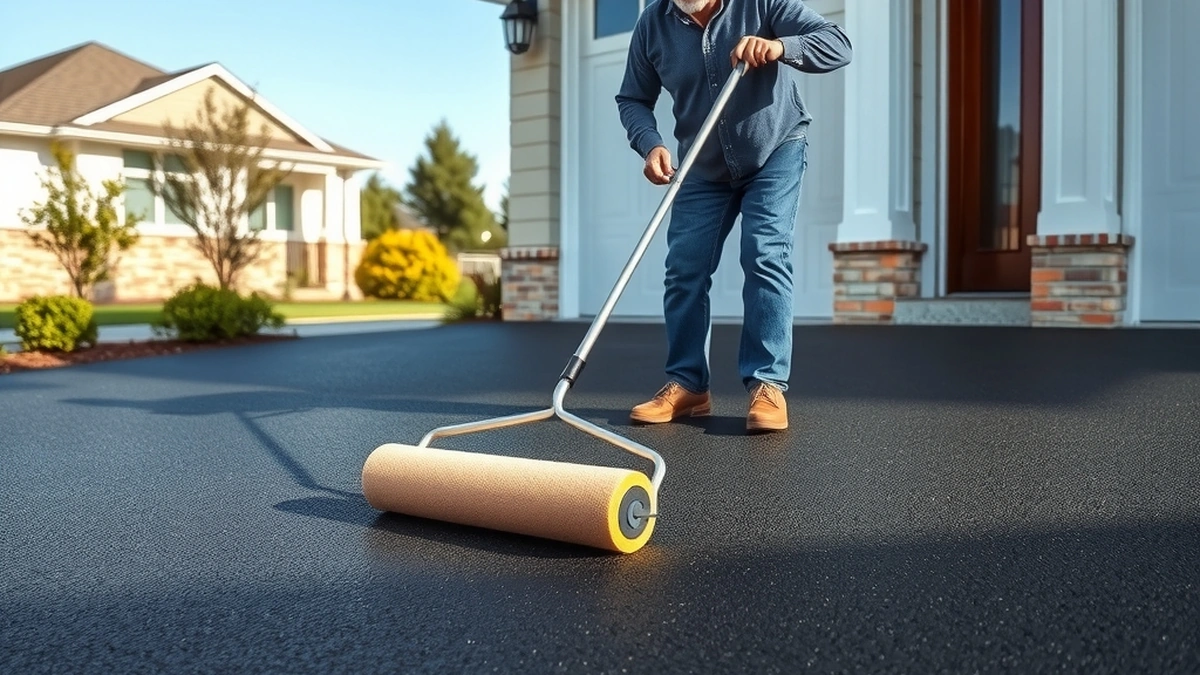
You can clean, crack fill, and roll on two thin coats of sealcoat yourself for roughly $0.05–$0.12 per sq ft, against $0.15–$0.30 for a contractor. What you usually cannot match is prep speed, edge neatness, and spray coverage on large or badly cracked driveways.
- DIY material cost
- $0.05–$0.12 per sq ft
- Contractor cost
- $0.15–$0.30 per sq ft
- Crack filling
- $2–$5 per linear ft
- Curing window
- 24–48 hours dry
Some links on this page are affiliate links.If you buy through them we may earn a commission at no extra cost to you. We do not accept payment for rankings. Read the full disclosure.
DIY driveway sealing is genuinely doable. A homeowner with a free weekend, a clean surface, and two thin coats can produce a result that looks and lasts close to professional work on a sound driveway under about 1,000 square feet. What you cannot easily replicate is the prep speed and equipment a crew brings to damaged or large pavement.
What the job actually involves
DIY driveway sealing is the process of cleaning an asphalt surface, filling cracks and patching holes, then applying sealcoat in two thin coats with a roller or squeegee. It is labor, not skill. The technique is simple; the discipline is in the preparation.
Most DIY failures trace back to one of three shortcuts: sealing a dirty surface, sealing over cracks instead of filling them, or applying one thick coat instead of two thin ones. None of those is a skill problem. They are patience problems.
What DIY costs
Estimates for 2026, material only:
| Item | Estimated cost | Unit |
|---|---|---|
| Sealcoat material | $0.05–$0.12 | per sq ft |
| Crack filler | $2–$5 | per linear ft |
| Pothole patch | $15–$40 | per bag or bucket |
| Tools, if you own none | $60–$150 | one time |
On an 800 sq ft driveway — 20 feet by 40 feet:
800 sq ft × $0.05 = $40 800 sq ft × $0.12 = $96
A contractor on the same driveway:
800 sq ft × $0.15 = $120 800 sq ft × $0.30 = $240
So the saving is roughly $80 to $144, minus tool costs if you are starting from nothing. On a 1,600 sq ft driveway the gap doubles to about $160 to $288, which is where DIY starts to look more attractive financially — and also where the workload starts to hurt.
Add 50 linear feet of cracks:
50 lf × $2 = $100 50 lf × $5 = $250
Note that crack filler is priced per linear foot at retail too, so the savings on that line are smaller than they look. The big DIY saving is labor on the coat itself.
What you can do yourself
- Clean the surface thoroughly. A pressure washer or a stiff broom plus a hose handles this on most driveways.
- Kill and remove oil stains, then prime them so sealer bonds.
- Fill cracks up to about half an inch wide with pourable crack filler.
- Patch small potholes with cold patch and tamp them firm.
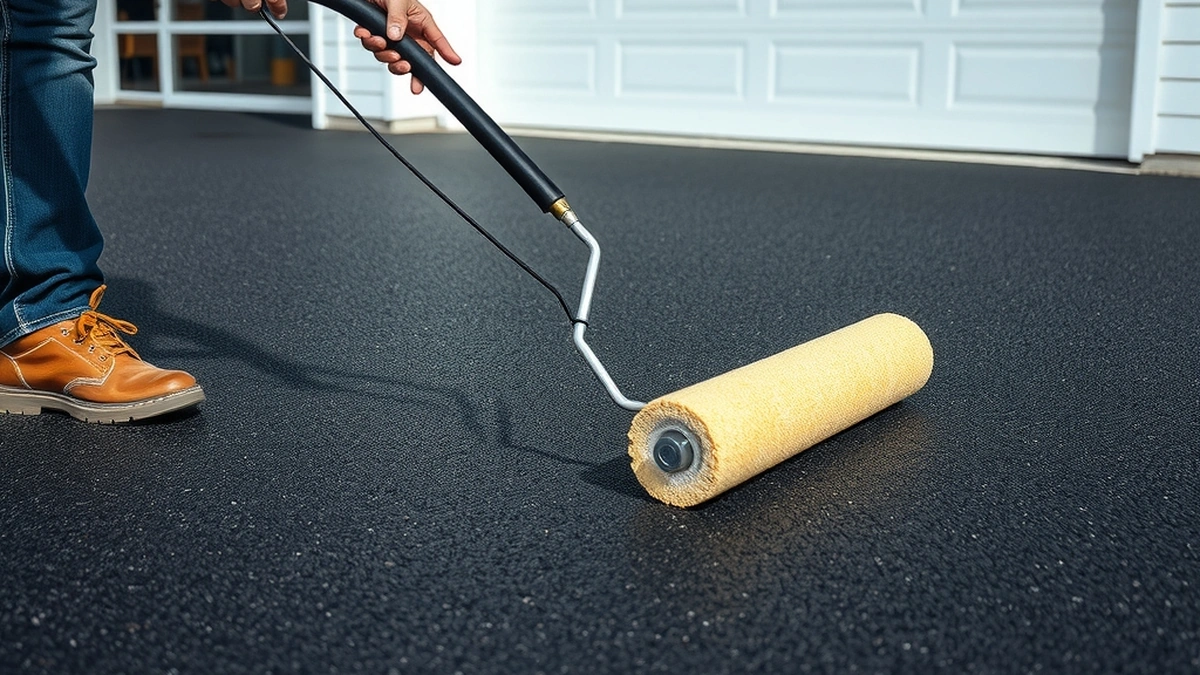
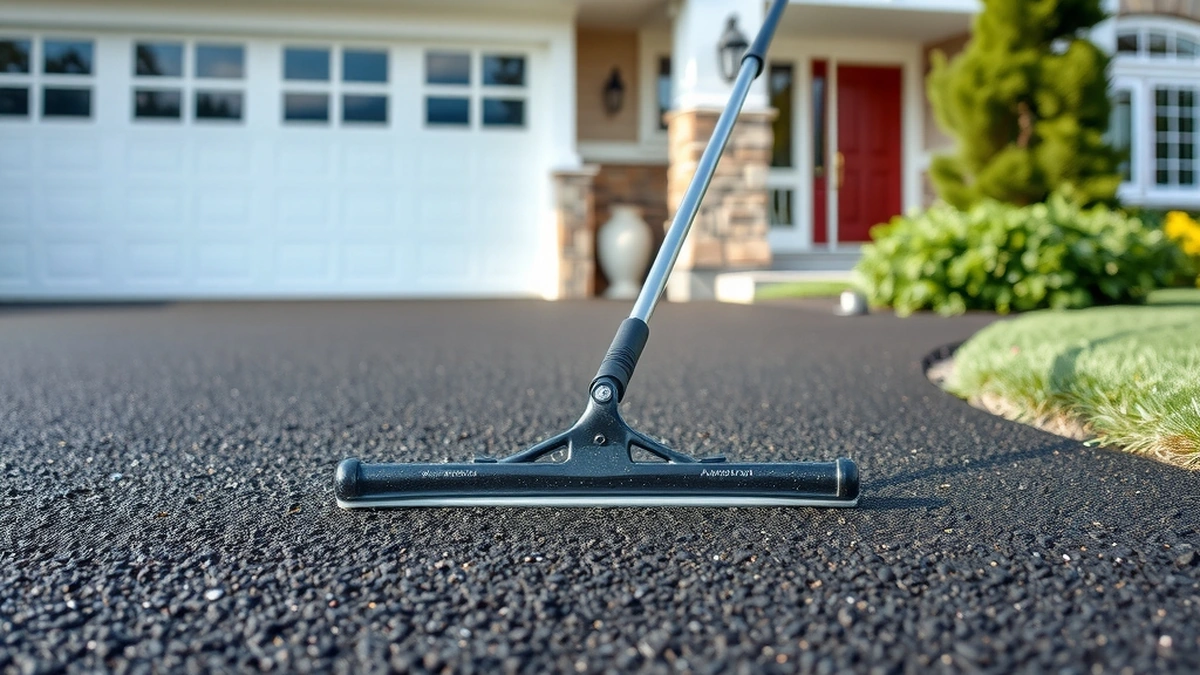
- Apply two thin coats with a squeegee, roller, or both.
- Tape and paper the garage apron and any surface you do not want coated.
- Barricade the driveway and control traffic during cure.
That list covers the entire job on a driveway that is structurally sound. It is a full day of work for two people on 800 square feet, plus a drying day between coats depending on weather.
What you cannot easily match
Four things separate a crew from a homeowner, and none of them is mysterious.
Prep speed. A commercial crew cleans, blows, and preps 800 square feet in well under an hour with a blower, a surface cleaner, and a trailer-mounted tank. Doing it by hand takes three to four times as long, and fatigue is where shortcuts creep in.
Spray equipment and coverage rate. Spray application covers large areas fast and pushes material into surface voids. A roller leaves a slightly thinner film on rough asphalt and takes far longer on big areas. If your driveway is over about 2,000 square feet, hand application becomes a genuine endurance event. See spray sealing a driveway for what that equipment actually does.
Crack and pothole repair quality. Deep, routed cracks and failed patches need sawing, cleaning, and proper compaction. A homeowner can do a decent job on surface cracks and small holes; a crack that has opened twice is a sign the base is moving, and no amount of filler fixes that.
A workmanship warranty. A contractor who peels a coat comes back. You do not.
DIY vs contractor, side by side
| Factor | DIY | Contractor |
|---|---|---|
| Cost on 800 sq ft | $40–$96 plus filler | $120–$240 plus filler |
| Time | 1–2 days plus cure | 3–5 hours |
| Large driveways | Slow, uneven results | Routine |
| Crack and patch work | Limited by hand tools | Routed, cleaned, compacted |
| Warranty | None | Usually one season or more |
| Scheduling | Weather dependent, your call | Weather dependent, their call |
The honest read: DIY wins on small, sound driveways where you have the time and the weather. It loses on anything with structural damage, heavy cracking, or more than about 1,500 square feet.
How to do it in order
- Pick a window with two dry days, temperatures above 50°F, and no rain in the forecast.
- Clear the driveway, pull weeds from cracks and edges, and degrease oil spots.
- Pressure wash or scrub the full surface and let it dry completely — usually a full day.
- Fill every crack with crack filler and patch any holes, then let the filler cure per its label.
- Tape and paper the garage apron, walls, and lawn edges.
- Apply the first coat thin and even, working from the garage outward so you do not walk on fresh sealer.
- Let it dry, then apply the second coat across the first, and barricade for 24 to 48 hours.
Work in sections and keep a wet edge so you do not get lap marks. Two thin passes over the whole driveway beat one heavy pass every time.
Reading the pail before you buy
Coverage rates vary by product and by how porous your asphalt is. Labels typically state a range in square feet per gallon, and a first coat on rough, oxidized pavement sits at the low end of that range because the surface drinks material. A second coat covers more per gallon because the first has sealed the pores.
Do the arithmetic before you leave the store: total square footage divided by the label’s coverage rate, times the number of coats, then rounded up to the pail size. Buying short mid-job is the most common DIY mistake, because a partial coat that cures before the next pail arrives leaves a visible seam.
Our best driveway sealer guide covers how to read a label and what the solids content number means, and how much does driveway sealing cost puts the material figures next to contractor quotes by driveway size.
When to call someone instead
Call a contractor if the driveway has alligator cracking, if a section moves under a car, if water ponds for a day after rain, or if the surface is larger than you can coat in one continuous session. Those are structural or logistical limits, not confidence issues. Finding a driveway sealing contractor near you covers how to shortlist one, and driveway crack repair explains which cracks are beyond filler.
Frequently asked questions
Is DIY driveway sealing worth the savings?
On a sound driveway under about 1,000 sq ft with no major cracks, yes. The savings are real and the job is manageable. On large or badly cracked pavement, prep is the hard part and a crew usually wins.
What tools do I need to seal a driveway myself?
A stiff push broom, a pressure washer or garden hose, a squeegee or long-nap roller on a pole, gloves, eye protection, and crack filler with a pour spout or caulk gun.
How much sealer does an 800 sq ft driveway need?
Read the pail, but plan on roughly two coats. At a typical coverage rate near 80 sq ft per gallon per coat, 800 sq ft takes about 10 gallons per coat, or 20 gallons total.
Can I seal my driveway with a roller?
Yes. A long-nap roller works well on smooth asphalt. On rough or porous surfaces a squeegee pushes material into the voids better, and many homeowners use a squeegee first then back-roll.
What temperature should it be to seal a driveway?
Above roughly 50°F and rising, with no rain forecast for 24 to 48 hours. Cool, damp conditions slow curing and can leave a tacky surface that tracks into the garage.
Why did my DIY sealcoat peel?
Almost always adhesion. Sealer was applied over dirt, oil, moisture, or a surface that was too hot or too cold, or it went on too thick in one coat and skinned over before curing.
Sources
Some links are affiliate links.If you buy through them we may earn a commission at no extra cost to you. We do not accept payment for rankings. Read the full disclosure.