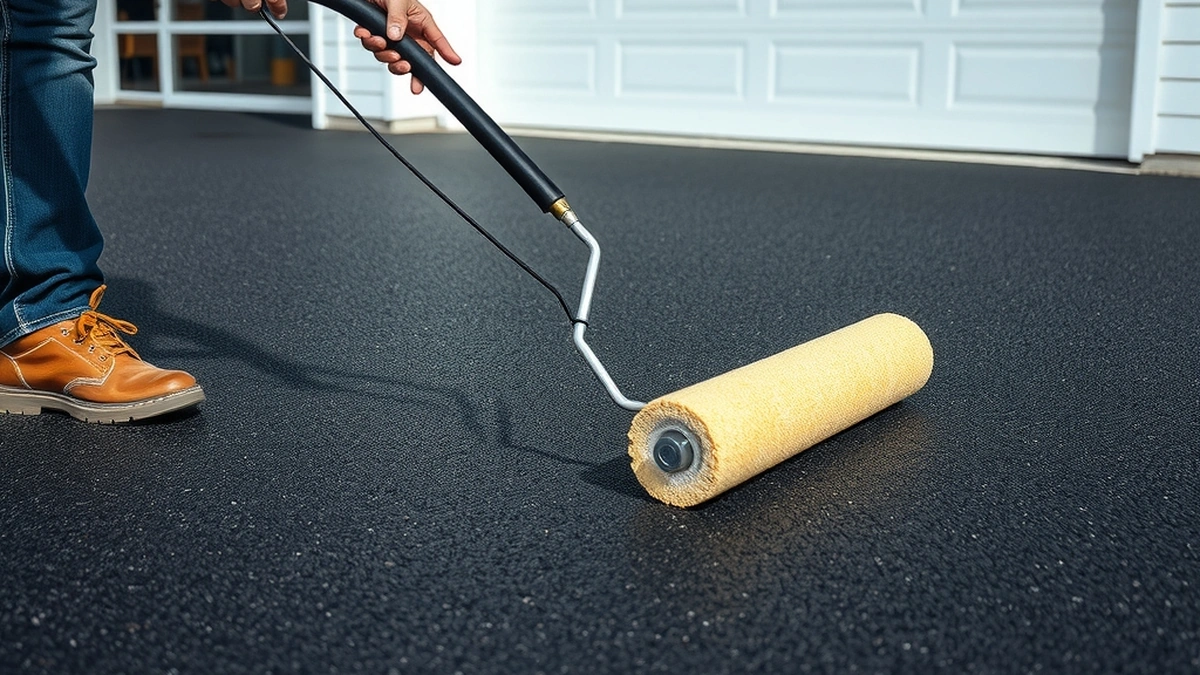
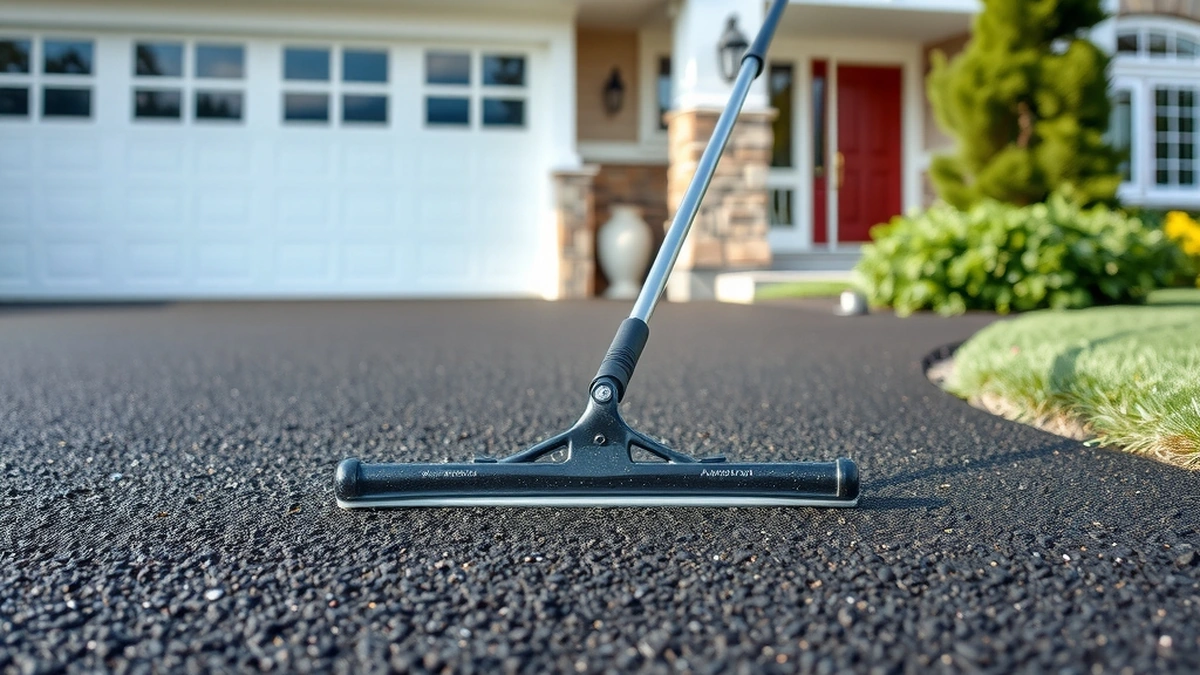
Cold patch installation: how to make it last
Cold patch installation in six steps: square the hole, clean it, fill in lifts, tamp each layer, overfill, and compact. Why most cold patches fail early.
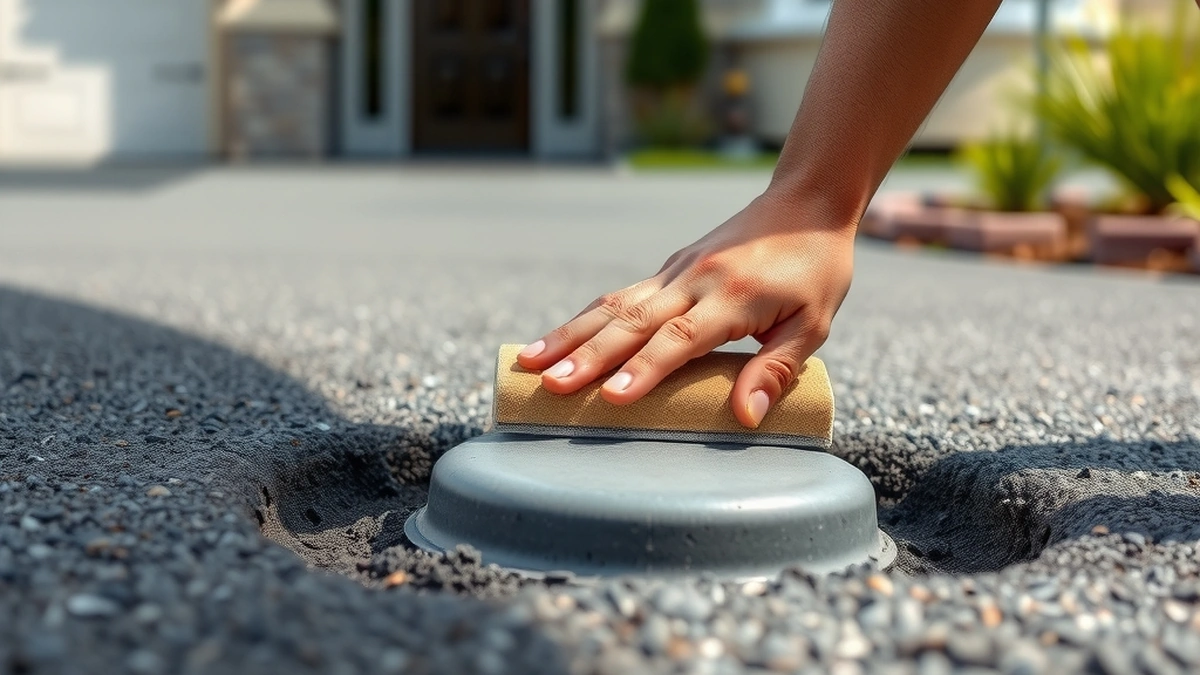
Cold patch installation takes six steps: cut the hole square, remove loose material and water, fill in 2-inch lifts, tamp each lift, overfill slightly, and compact. Most failures come from skipping the squaring and compaction steps.
- Lift thickness
- About 2 inches
- Overfill
- 1/4 to 1/2 inch
- Working temperature
- Above freezing
- Material cost
- A few dollars per bag
- Expected life
- One season to a few years
Some links on this page are affiliate links.If you buy through them we may earn a commission at no extra cost to you. We do not accept payment for rankings. Read the full disclosure.
Cold patch installation takes six steps, and the two that get skipped are the two that matter: squaring the hole and compacting the material. Do both and a cold patch can hold for a season or more. Skip them and the patch ravels out within weeks, which is why so many homeowners conclude the product does not work.
What cold patch is, and what it is for
Cold patch is a bagged asphalt mix with a solvent-cut binder that can be placed without heating.
It is designed as a temporary repair, particularly in cold or wet weather when hot-mix plants are closed. It densifies under traffic rather than curing chemically, so it never becomes as strong as hot mix.
That makes it the right product for a winter emergency and the wrong product for a repair you want to last five years.
Tools and materials
| Item | Purpose | Notes |
|---|---|---|
| Cold patch bags | Fill material | A few dollars per 50 lb bag |
| Shovel or trowel | Placement | Keep the mix loose |
| Tamper or plate compactor | Compaction | The step most often skipped |
| Broom and blower | Cleaning | Remove all loose material |
| Saw or chisel | Squaring edges | A masonry chisel works on small holes |
| Gloves | Handling | The binder stains and clings |
A plate compactor is ideal but a hand tamper works for small holes. A vehicle tire can finish the job, but it should not be the only compaction.
Step 1: square the hole
Break out the ragged edges with a chisel or saw until the hole has vertical sides and a roughly rectangular shape.
This is the step that separates a patch that lasts from one that does not. A tapered pothole has nothing for the material to key against, so traffic pushes the patch up and out.
Undercut edges are worse than tapered ones; they leave a lip of pavement that breaks away and takes the patch with it.
Step 2: clean out loose material and water
Remove all broken asphalt, gravel, dirt, and vegetation from the hole. Sweep and blow it clean.
Then deal with water. Cold patch can be placed in damp conditions, but standing water has to go. A sponge, a rag, or a blower will do for a small hole.
Water trapped beneath the patch turns to steam in summer and ice in winter, and both push the material out.
Step 3: check the base
Press a screwdriver or a bar into the bottom of the hole. If it sinks easily, the base is soft and the patch will fail no matter how well it is installed.
Where the base has hollowed out, add crushed aggregate and compact it before any patch material goes in. A patch is only as good as what it sits on.
If the base is soft across a wide area, stop. That is a base repair, not a pothole repair, and our potholes repair guide covers the options.
Step 4: fill in lifts and compact
- Pour a 2-inch layer of cold patch into the hole.
- Tamp it firmly across the full area, working from the edges inward.
- Add another 2-inch layer and tamp again.
- Repeat until the patch sits about a quarter inch above the surrounding surface.
- Compact the finished patch with a tamper or plate compactor.
Two-inch lifts matter because compaction only reaches so far. A 6-inch hole filled in one pour leaves the bottom loose, and the whole patch sinks under the first heavy vehicle.
The quarter-inch overfill accounts for further densification under traffic. A patch finished flush ends up as a depression that holds water.
Finish, compact, and monitor.
Compaction is where the durability comes from. Cold patch does not cure; it densifies.
Tamp the edges first, then work across the centre. A plate compactor run in two directions gives the best result. Without one, a hand tamper and several passes with a vehicle tire will do for a small patch.
Leave the patch slightly proud. Traffic will finish the densification over the next few weeks.
Clean and monitor.
Sweep up loose material from the surrounding pavement so it does not get tracked into the garage.
Check the patch after the first week and again after the first rain. A patch that is raveling at the edges needs more material tamped into the joint, not a full replacement.
Why cold patches fail early
Four failures cover almost every short-lived patch.
Not squared. The material has no vertical wall to key against and slides out.
Not cleaned. Dust and loose gravel prevent any bond, and the patch sits as a loose plug.
One thick lift. The bottom never compacts, so the patch sinks and forms a bowl that holds water.
Soft base. The hole reopens from underneath because the material beneath cannot carry load.
None of those are fixed by buying more expensive cold patch. They are fixed by preparation.
Cost and expected life
Material costs a few dollars per bag, and one bag covers about 2 square feet at a 2-inch depth. A 4 square foot pothole at 2 inches takes two bags.
Expected life is one season for a quick winter patch and up to a few years for a well-compacted one in a sound base. A hot-mix patch at $100 to $400 per pothole lasts several years and is the permanent option.
For a driveway with recurring potholes, the annual cost of cold patch exceeds a permanent repair within two or three seasons. Our cold patch cost page compares the two properly, and cold patch problems covers the failures that are not installation-related.
Frequently asked questions
How do you install cold patch?
Cut the pothole edges square, remove all loose material and water, fill in 2-inch lifts, tamp each lift, overfill by about a quarter inch, and compact with a tamper or a vehicle tire.
Do you need to cut the pothole before cold patching?
Yes. Squaring the edges gives the patch vertical walls to key against. Tapered edges let the material slide out, which is why patches in un-cut holes ravel within weeks.
Can you put cold patch in a wet hole?
It can be applied in damp conditions, which is its advantage, but standing water must be removed first. Water trapped under the patch pumps out under traffic and destroys the bond.
How deep should cold patch be applied?
In lifts of about 2 inches, tamped between layers. A single thick pour does not compact through, so the bottom stays loose and the patch sinks.
How long before you can drive on cold patch?
Immediately after compaction. Cold patch does not cure like hot mix; it densifies under traffic. Compacting it first with a tamper or tire gives a better result than letting a car do it.
Why does cold patch come out of the hole?
Usually because the hole was not squared, was not cleaned, or was filled in one thick lift without compaction. Base failure underneath will also push any patch out.
Sources
Some links are affiliate links.If you buy through them we may earn a commission at no extra cost to you. We do not accept payment for rankings. Read the full disclosure.